R-134 Air Conditioning Upgrade
The Fiero uses the same-size A/C components to cool its small, 2-passenger space as a mid-size, 5-passenger car. There is a small difference in cooling efficiency between R-12 and R-134a — R-134a is slightly less efficient than R-12 — but it results in at most maybe three to four degrees at the vents. You don’t even notice it, especially if your A/C system wasn’t working at all before you attempted this. I see temperatures in the low-40’s (F) at the vents, and many people have even seen high-30’s, which is as good or better than any modern car designed for R134a. This document will explain how to perform this upgrade.
Essential items:
- 3 cans of R-134a refrigerant
- 1 retrofit-size can of pressurized R-134a and R12 compatible oil
- R-134a Retrofit kit with fittings and charging hose
- New expansion/orifice tube, available at NAPA (1988 p/n 207311, about $5, may be the same for other years)
- New Accumulator ($30 at NAPA, p/n TEM 208543 or Four Seasons 33187 elsewhere)
- New O-rings for accumulator and compressor (blue or green, about $1 each, but you’ll need the whole kit to figure out which ones are the right sizes)
Do not use a leak detector/sealer, it will clog discharge ports in the compressor and will destroy recovery systems.
-
Begin by determining if your A/C system still has any freon (R-12) remaining in the system. Manifold gauges with an R-12 fitting are the correct way of doing this. Another way is to detach the connector on the low-pressure switch on the front of the accumulator. Unscrew the switch from the accumulator, being careful not to lose the o-ring that seals it. If it comes all the way off without ever demonstrating any existence of pressure, then you’re empty. If not, you should take your car to a shop to have the system evacuated and the R-12 properly recovered per EPA guidelines.
-
At the back of the car, remove the rubber intake snorkel and unscrew the 10mm bolt which secures the compressor fitting to the car on the left side at the firewall. It is down deep in there, identified by an aluminum flange with two large hoses protruding from it and the bolt in the center. You’ll need some extensions and a universal-joint adapter to remove it. Inspect the captive o-rings and replace with new R-134a compatible ones if necessary. Reinstall the compressor hose flange and retighten its bolt to spec. You may also want to remove the other end from the compressor and replace those rings too.
-
On the pressure switch, use a small screwdriver to turn the adjustment screw 1/8 to 1/4 turn counter-clockwise. This will reduce the lower cutoff for the system pressure slightly to about 20psi. R134a operates at a few psi lower than R12.
-
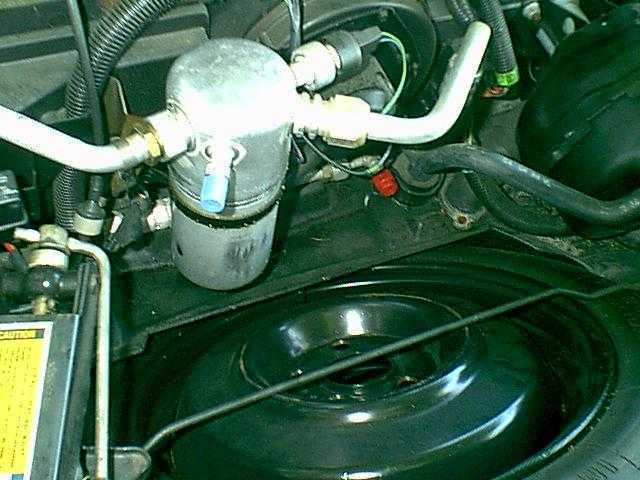
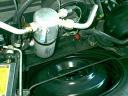 At the front of the car, remove the old accumulator (the large aluminum canister right in front of the spare tire) and install the new one, noting the orientation of its various fittings and replacing the o-rings on each of the main line fittings. Replacements are often not identical, and you may need to move the pressure switch in order to make it fit. Make sure that it has its o-ring. If the original ring is not perfect, it should be replaced. Install the new R134a fitting from your retrofit kit on the accumulator’s low-side connection. (This is the blue cap in the picture.)
 -
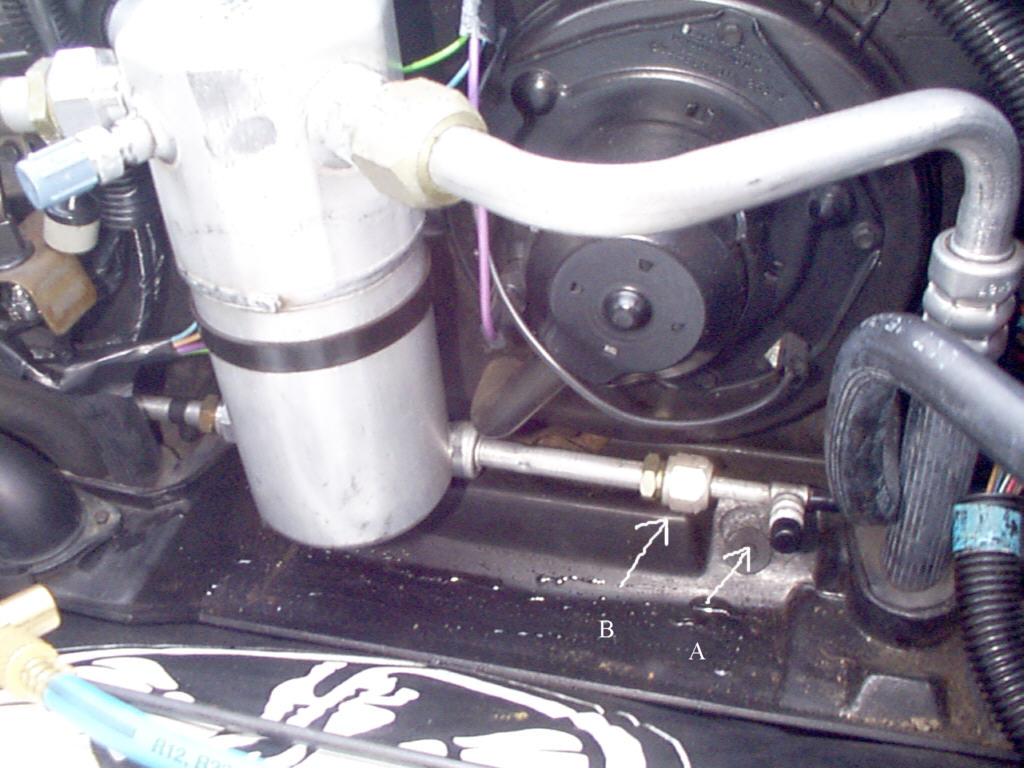
 Below the accumulator is another A/C line, smaller and running horizontally. Remove the old R-12 fitting (A in the photo) and install the new R134 high-side (red) fitting.
 -
On that same A/C line, you will find fittings you can unscrew (B in the photo). Loosen these and you will gain access to the orifice tube. Remove the old part from inside, noting its orientation, and install the new one. Then reattach the line.
-
Vacuum the system down through the low-side fitting. If you have an air compressor, the Harbor Freight 96677 is only $15. If not, you can purchase a vacuum pump or take it to a shop to have this performed. Vacuum it down to 29″ Hg for 45 minutes to an hour. This will evacuate all the air and moisture from the system, make it easier to charge, and provide an initial leak test if it holds that vacuum for more than 30 minutes. If you did everything correctly and the vacuum holds then proceed to the next step. If not then recheck all your connections are tight.
-
Attach the can of compressor oil and charge it, according to the instructions on the can. Then get your first can of refrigerant and the hose, unscrew the hose’s pintle so it is fully retracted, then screw it onto the can. Attach it to the accumulator’s low-side fitting. Twist the pintle all the way in so that it punctures the can, then unscrew it to pressurize the system. If using manifold gauges, open the blue valve. If possible, purge the air from the lines before charging into the system.
-
Place the refrigerant can right-side up in a bowl of warm water, or you can hold it and rotate between the 12 o’clock and 3 o’clock positions. Do not turn it upside-down – this can damage the compressor. When it feels empty, or when the sight glass on your manifold gauges (if you have one) stops bubbling, screw the pintle back in and detach the hose from the accumulator.
-
Now start the engine and allow it to settle into a normal idle. Turn the A/C on to MAX. You should see the RPMs and the volts gauge drop as the compressor engages. Check that the compressor clutch engaged and the face of the pulley is spinning. If it does not engage on V6 cars, you will need to force it by jumpering the electrical connector that goes to the low-pressure cutoff switch on the accumulator with a paper clip. When the pressure stays above 20psi while the compressor is engaged, you can reconnect it to the switch. 87-88 4-cylinder cars have a variable-displacement compressor which do not have this switch.
-
Get the second can of R-134 and follow the same procedure. Check the temperature at the vents. You may need to add additional refrigerant from the third can to get the temperature into the mid- to low-40’s, but use no more than about half the third can. Use a temp/pressure chart for R-134a to determine the proper low and high-side pressures.
The Ogre’s Fiero Cave version of this process
UPDATE: 05/01/2002 My compressor clutch has failed, its bearings are making a loud scraping sound. I am not sure what to attribute this to, but it may have been my mistake or just that it was old and unused for so long. I have updated this documentation to reflect the most recent information I have available.
UPDATE: 07/02/2009 After replacing the compressor with a new unit in 2002, I have been running on this conversion for seven years now with no problems other than needing to top off the system with a small amount of R134a every spring. I’ve made a few updates to this documentation from what I’ve learned on doing this to other vehicles over the years.
Disclaimer: By following any of the instructions on this page, you release the author of any and all liability. You do this entirely at your own risk.